Boy, does my family love sensory play. Ever since my kids were tiny toddlers, they loved dipping their hands and feet into gooey, sticky, and prickly things! Colored rice is excellent for sensory play tables and plastic bins. It is easy to make and fun for little kids to be involved.
6 Steps for Making Colored Rice
- Pour Rice
- Add Rubbing Alcohol
- Add Food Coloring
- Shake
- Spread
- Dry
I will walk you through the steps it takes to prepare colored rice for your sensory play tables, activities, and crafts. There is some variation in making it, so don’t stress too much if it looks different or if your colors come out a bit wonky. That is part of the fun!
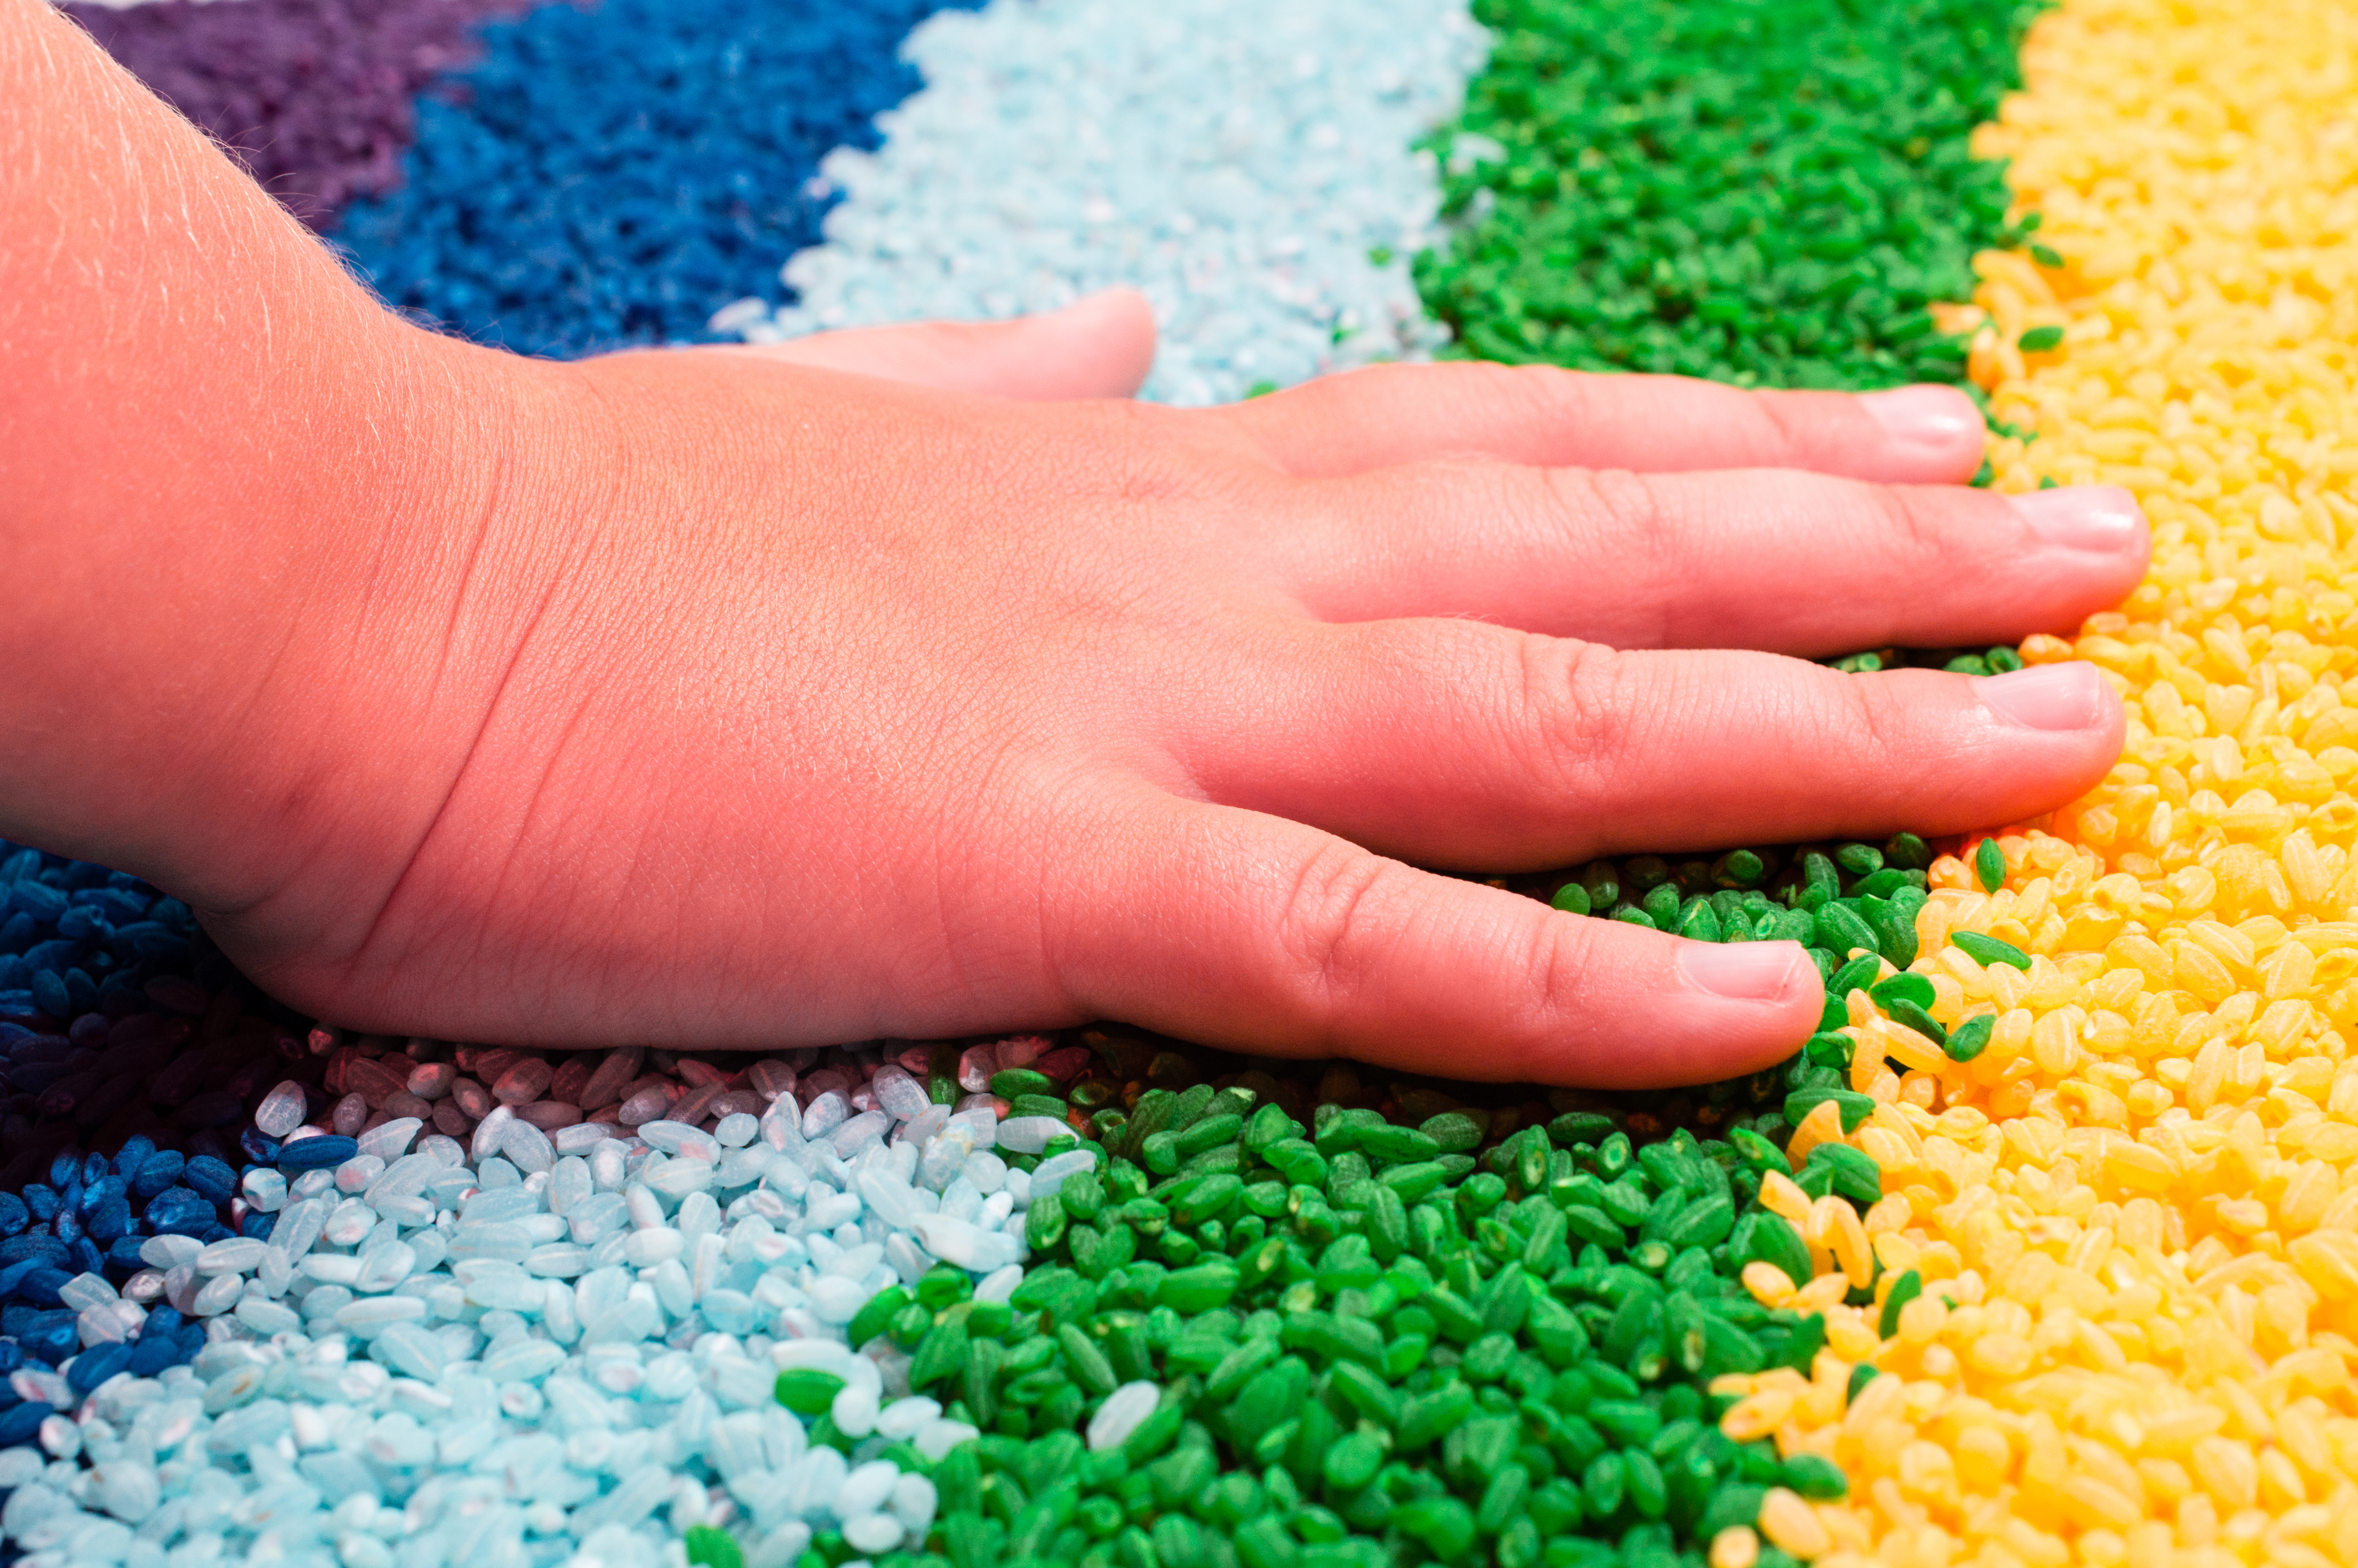
Colored Rice For Sensory Play
Young children who love sensory bins will love playing with colored rice. It is super soft, fun to pour, and easy to manipulate! Toddler play activities are more fun when kids can be creative and involved in the preparation.
My kids loved making this rice sensory bin! They created personalized colors for their bin and even picked the toys they wanted to use for their sensory play. A big plus is that it’s super easy to make!
Here are more sensory play ideas for toddlers and young children!
- Holiday Theme
- Water Play
- Slime
- Play-Doh
- Animals
- Educational
- Glitter and Glue
- Wooden Sticks and Corks
- Sound Tubes
- Kinetic Sand
- Mulch and Shovels
- Beads and String
- Seashells
- Pine Cones and Leaves
- Dumpers and Rollers
- Colored Rice and Funnels
Colored Rice Art Projects
After the rice is colored, it is fun to use it for supplemental projects and activities. Use colored rice for decorating cards, letter tracing, and sprinkling over painted pictures!
Here are some ways to use rice for your art projects!
Use Playdoh and Rice to make a pretend birthday cake for your kid’s dolls or toys. My daughter loved making this cake. She created a play-doh color she wanted for her cake, molded it into the shape of a cake, and sprinkled the colored rice on top!
Glue and Rice is a big hit for many children! Use hot glue for projects that need a little dash of color or for cards that require a sprinkle of life. Make holiday pictures like flags, balloons, presents, or fireworks, or draw fun geometric shapes with glue.
Paint and Rice are great for completed wooden projects that need a little texture or extra color. Complete your painted projects with additional colored rice sections to liven up the areas of the project you want to come to life. Green will look grassy, and red is great for hearts or flowers.
Other Colored Rice Activities
Of course, there are many different ways to get creative with rice! There are many options for supplemental materials, and everyone is creative in their own way!
Here are more ways to use colored rice for your children’s activities.
- Treasure Hunt
- Musical Instruments
- Color Matching
- Worksheets
- Patterning Cards
- Pretend Cooking
- DIY Bean Bags
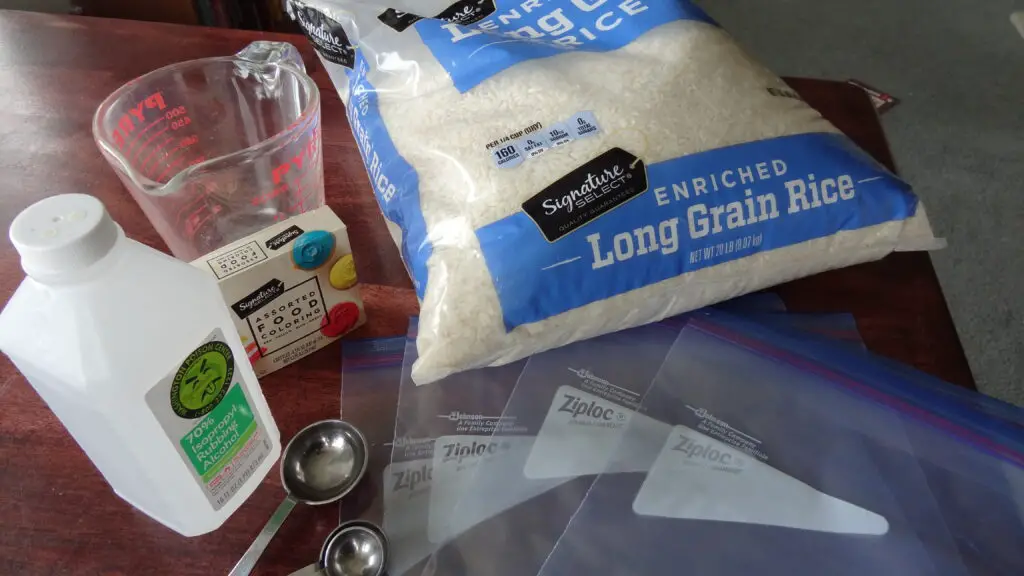
Colored Rice Supplies
Most of the supplies are probably hiding in plain sight, but if you want to ensure your meal prep doesn’t get harmed in the process, I recommend purchasing a huge bag of white rice used specifically for crafts.
My family loved doing this, so we used almost 20 lbs! 😮
Here is a list of the ingredients you need to make colored rice.
- White Long Grain Rice
- Rubbing Alcohol
- Food Coloring
- Plastic Zip Bags
- Parchment Paper
- Measuring Cups
- Sheet Tray
- Sensory Bin
Easy Colored Rice Instructions
Prepare with older children if they follow instructions, or do it when you are alone to surprise them later! This sensory activity is fun to prepare with young kids, but it does get quite tricky with multiple children, particularly those who still mouth on everything.
If you let your kids help, decide ahead of time the things they can help with. My kids helped with measuring and pouring the rice into the bags, squeezing the color into the bags, and shaking.
I make a TikTok of us doing it too!
#1- Pour Rice
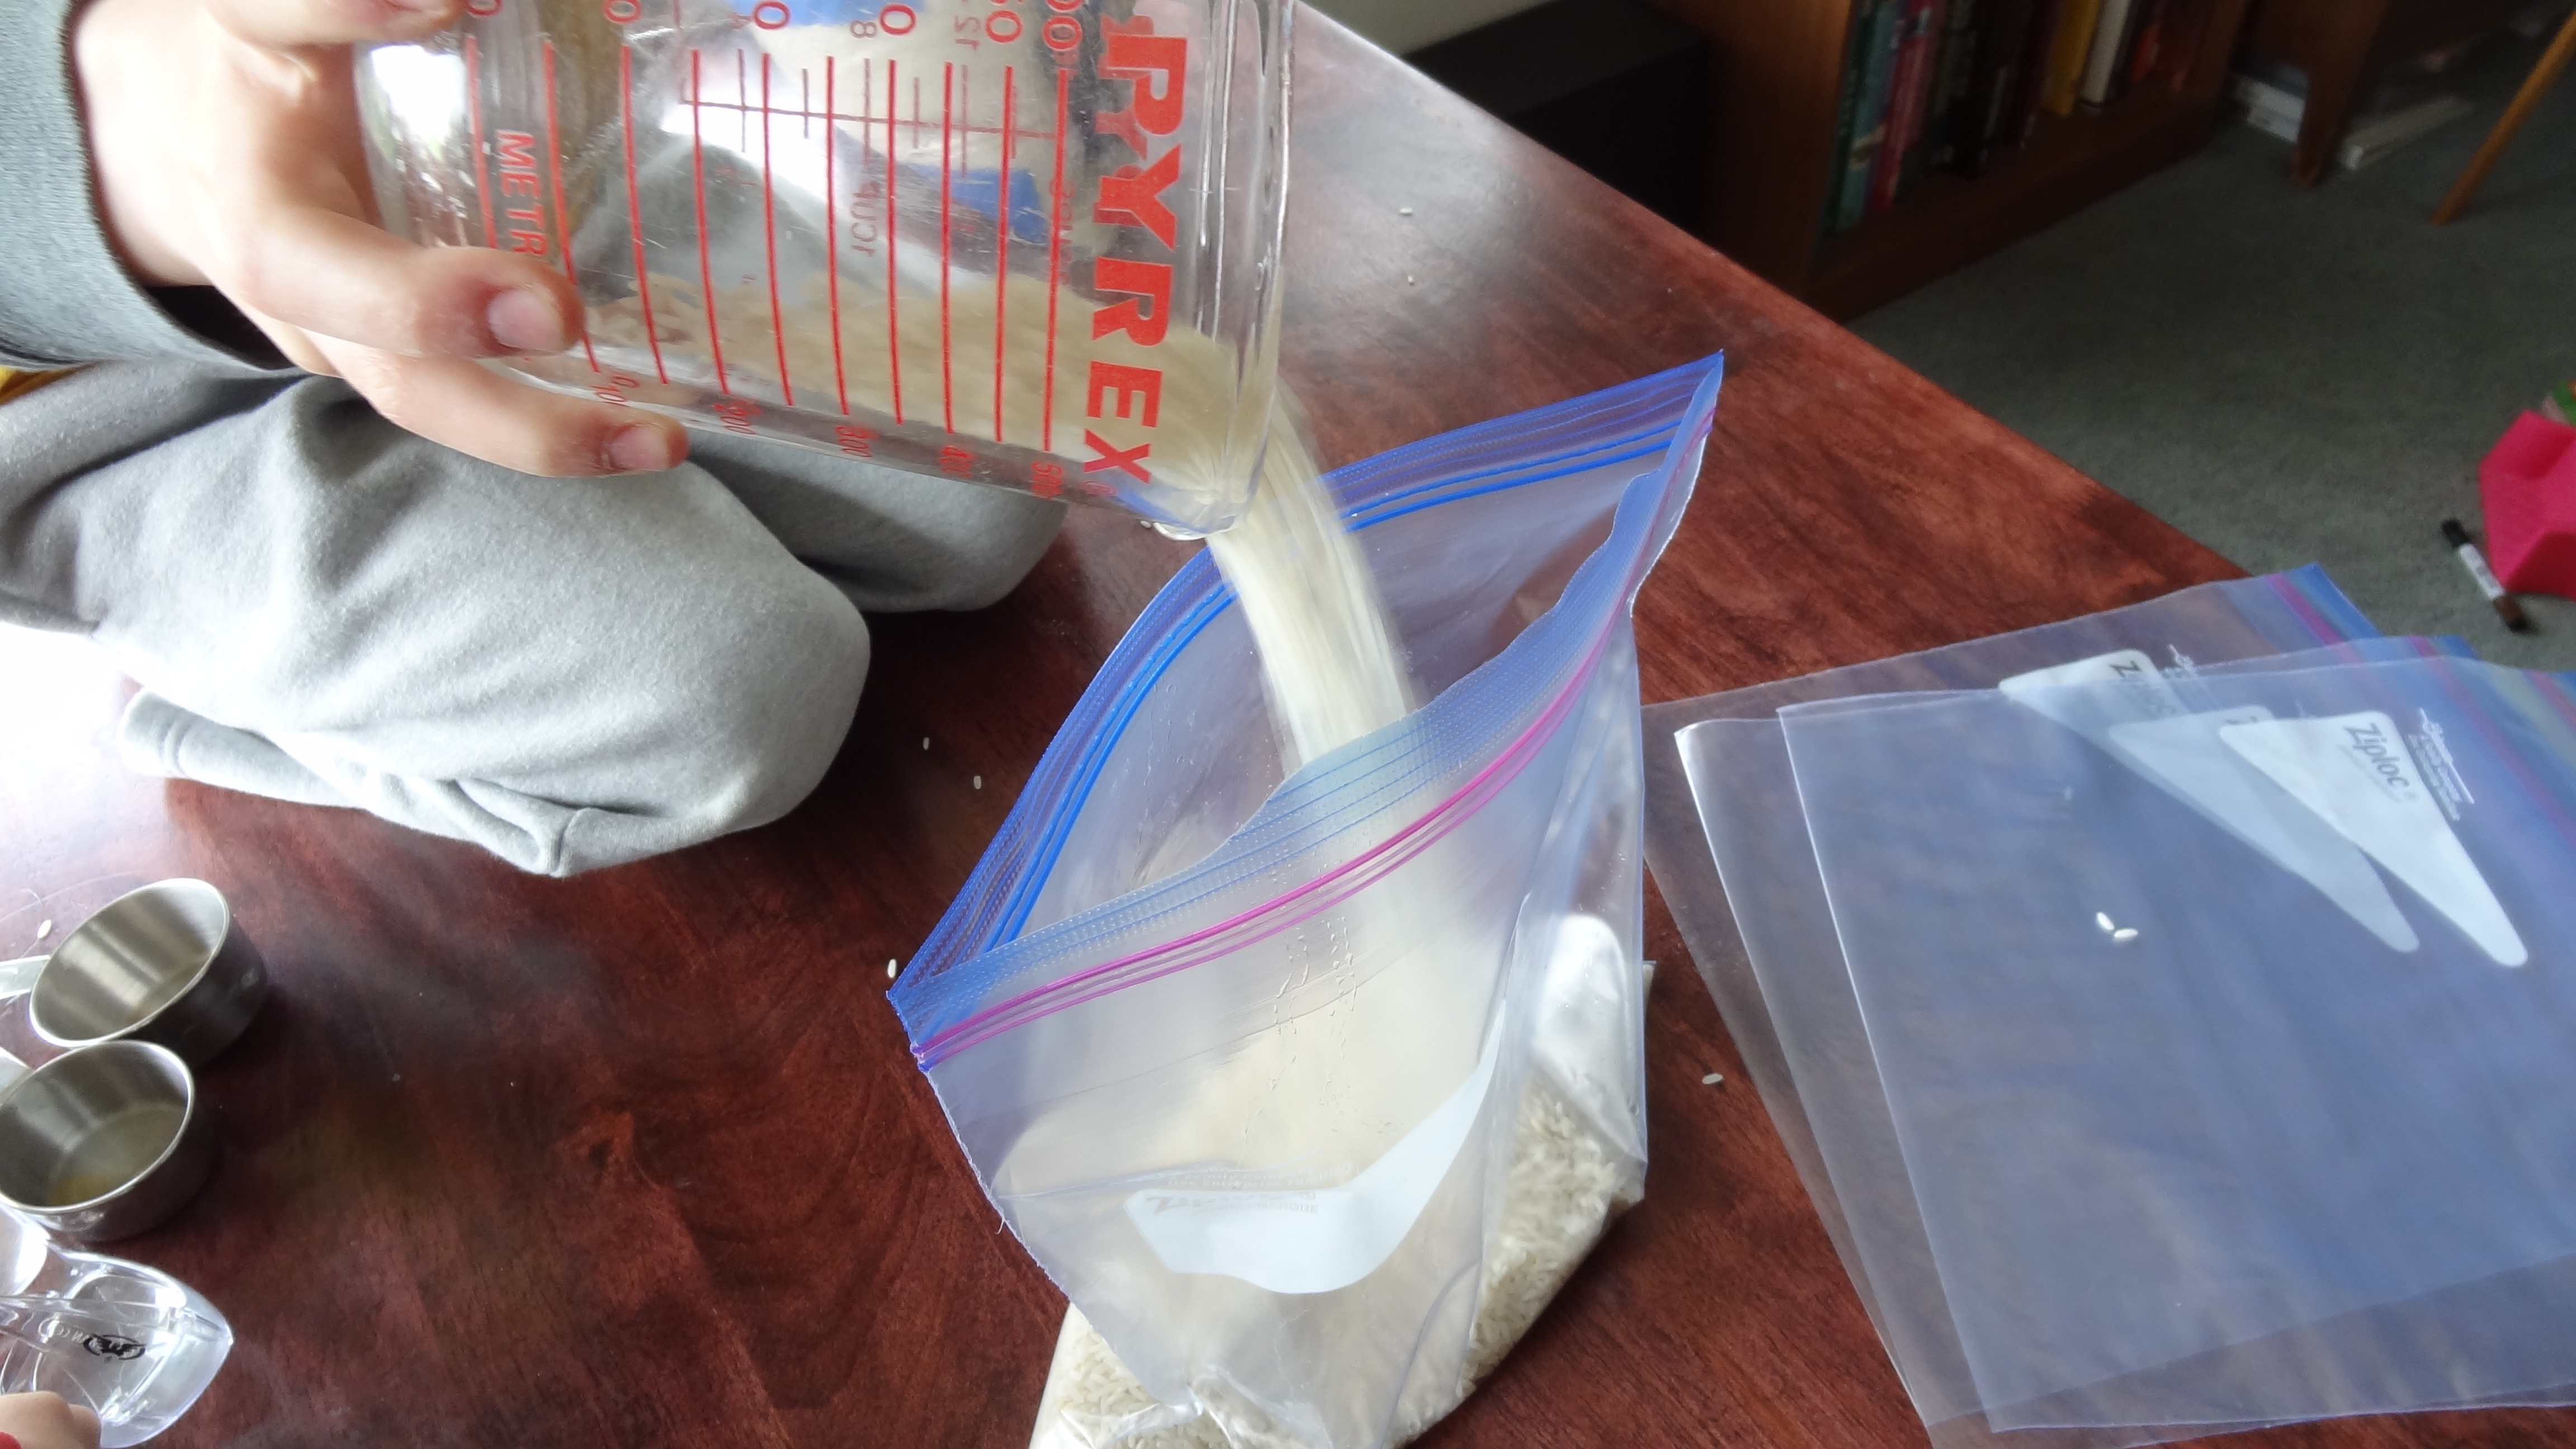
Add two cups of rice into a plastic zip-top bag. It is OK to use more or less; I found that two cups work well for our kids because it is an even measurement and gives them the chance to skip-count the cups. We have a 2-cup Pyrex dish that pours the amount right into the plastic bag.
#2- Add Rubbing Alcohol
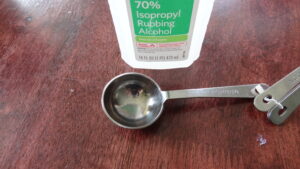
Pour one tablespoon of isopropyl alcohol into the bag of rice. I know it is a lot to take in because of the smell, but it is worth it! I know some people mix the alcohol on the rice first, but I don’t. Go right into adding the food coloring to the bag.
Substitute rubbing alcohol for white vinegar or lemon juice.
How to Color Rice (ladybehindthecurtain.com)
#3- Add Food Coloring
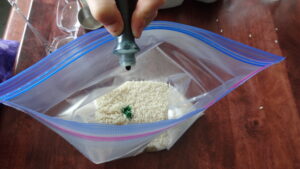
Use 5 to 10 drops of food coloring in the bag to make the color you want to create. The back of my food coloring box had a guide for creating custom colors. Use the guide for festive colors like pine green or spring coral. This step is great for kids to practice counting and squeeze the small bottle. Let your kids make their own colors too!
#4- Shake
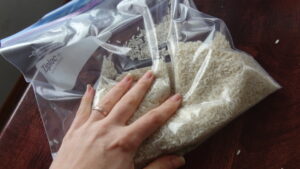
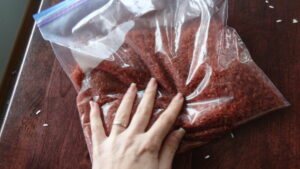
This step is also great for children who love to help! You want to incorporate the color and the alcohol all over the rice. You can shake, smush, or tap. Any way you and your little hands can distribute the color over the rice will help the rice’s color longevity.
#5- Spread
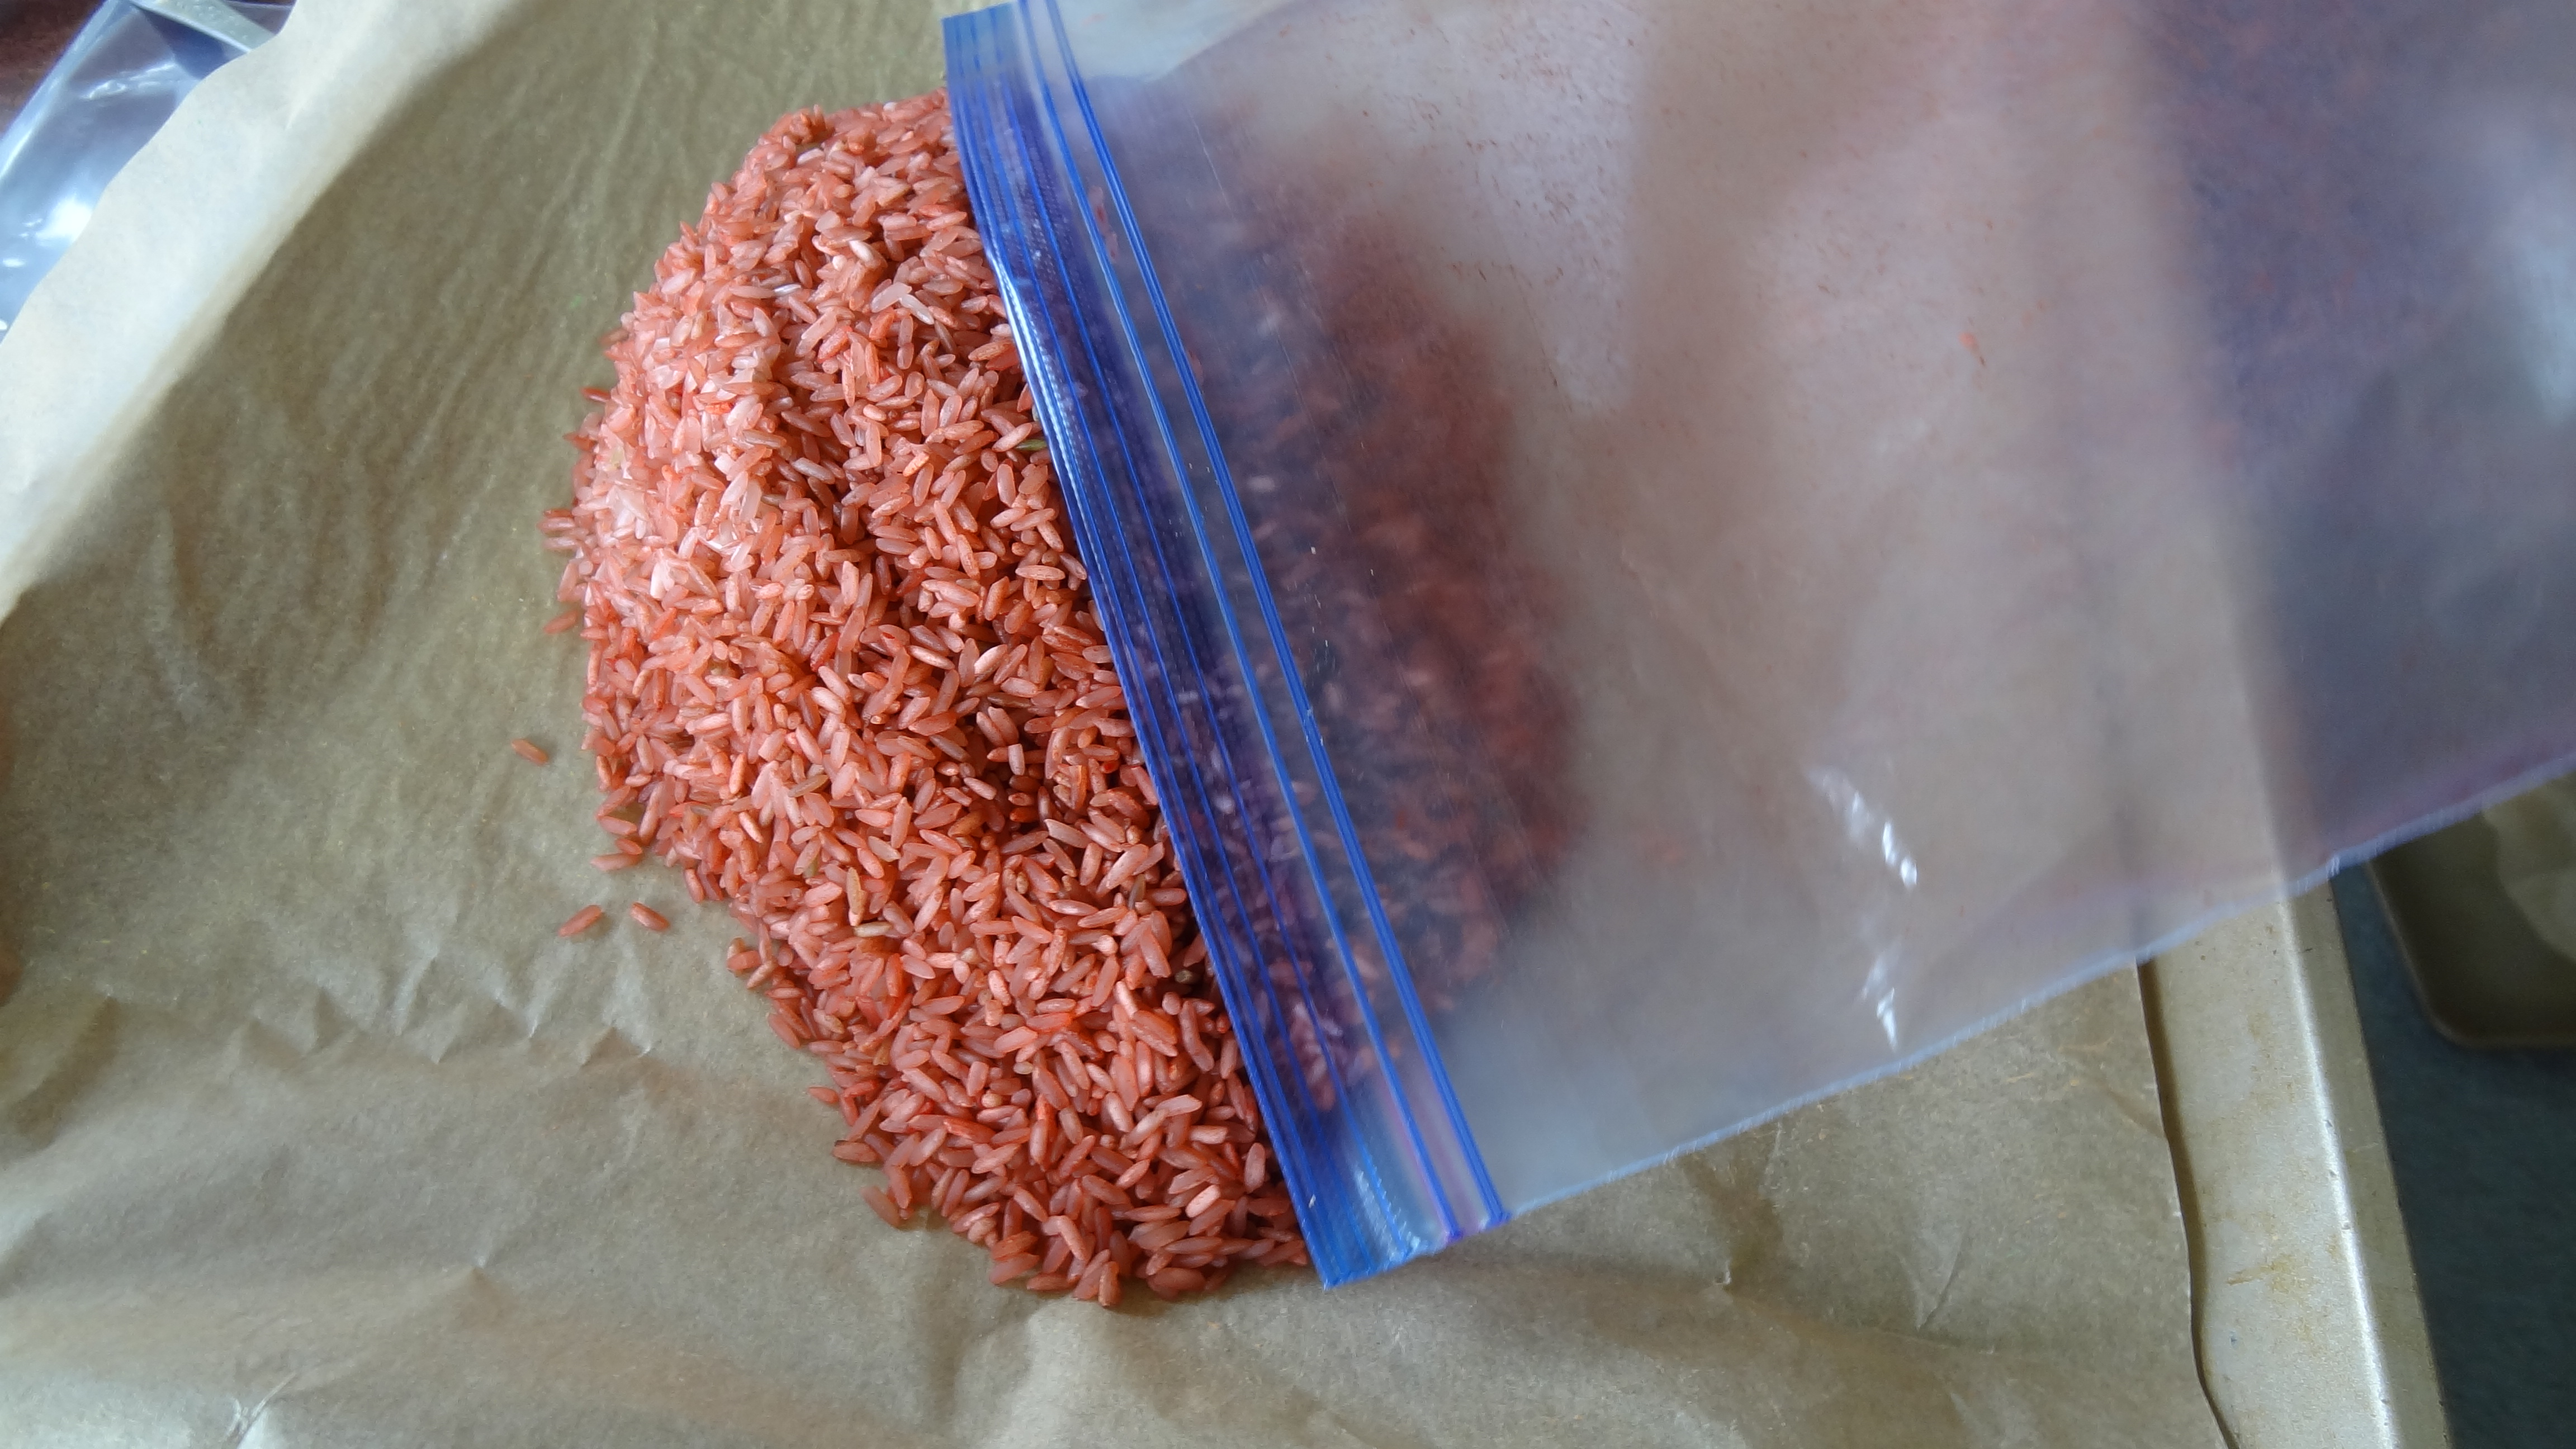
Put parchment paper onto a sheet tray, so the color doesn’t dye your cooking tray. This is an optional step, but it is helpful if you care about the color of your dishes. It also helps the cleanup process stay quick and easy because you can throw the parchment paper away, and your sheet tray is fine.
Spread the colored rice onto the sheet tray in a small pile. If you are doing multiple colors, you may need two to three trays. I used three for our sensory table. Make room on the tray for more colors to fit onto one tray.
#6- Dry
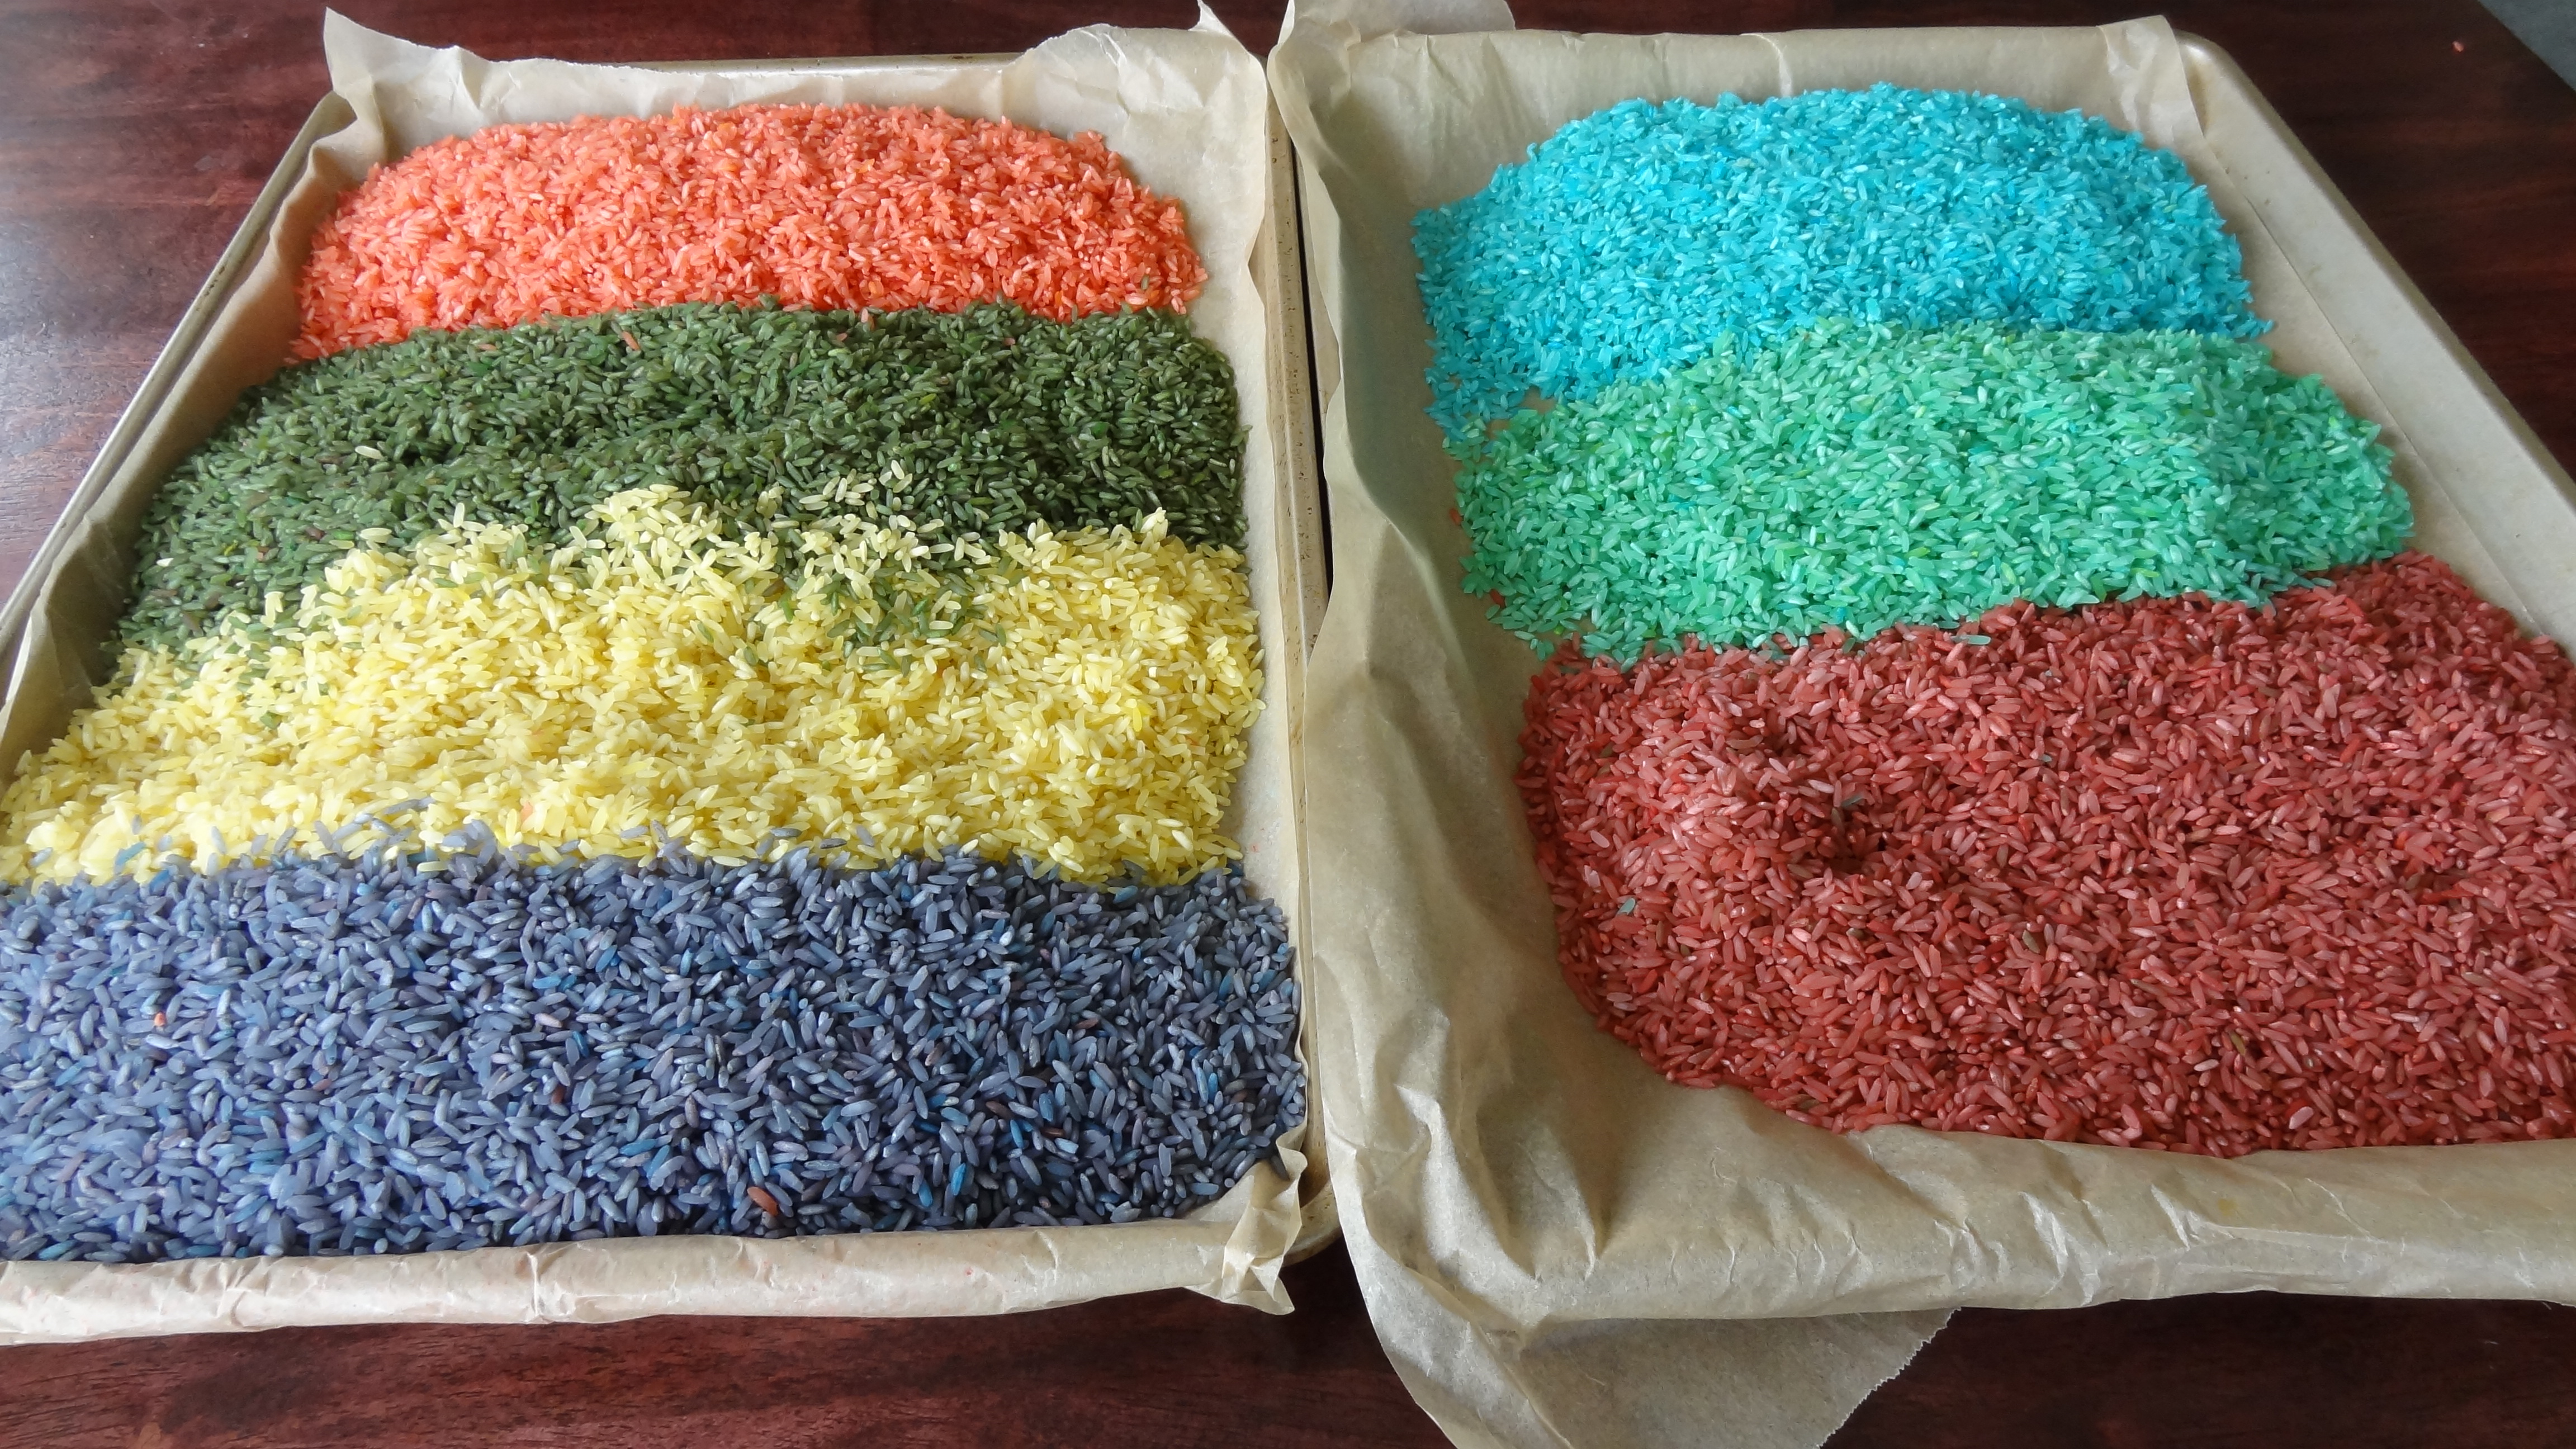
If it is a nice day, let the rice dry outside in the sun, and it will be done in less than an hour. It may take a few hours if it is a foggy or moist day. Be sure to flip the rice occasionally, allowing the rice underneath to come to the surface to dry. The goal should be to put your hands in the rice without it staining your hands or smelling of alcohol.
#7- Play
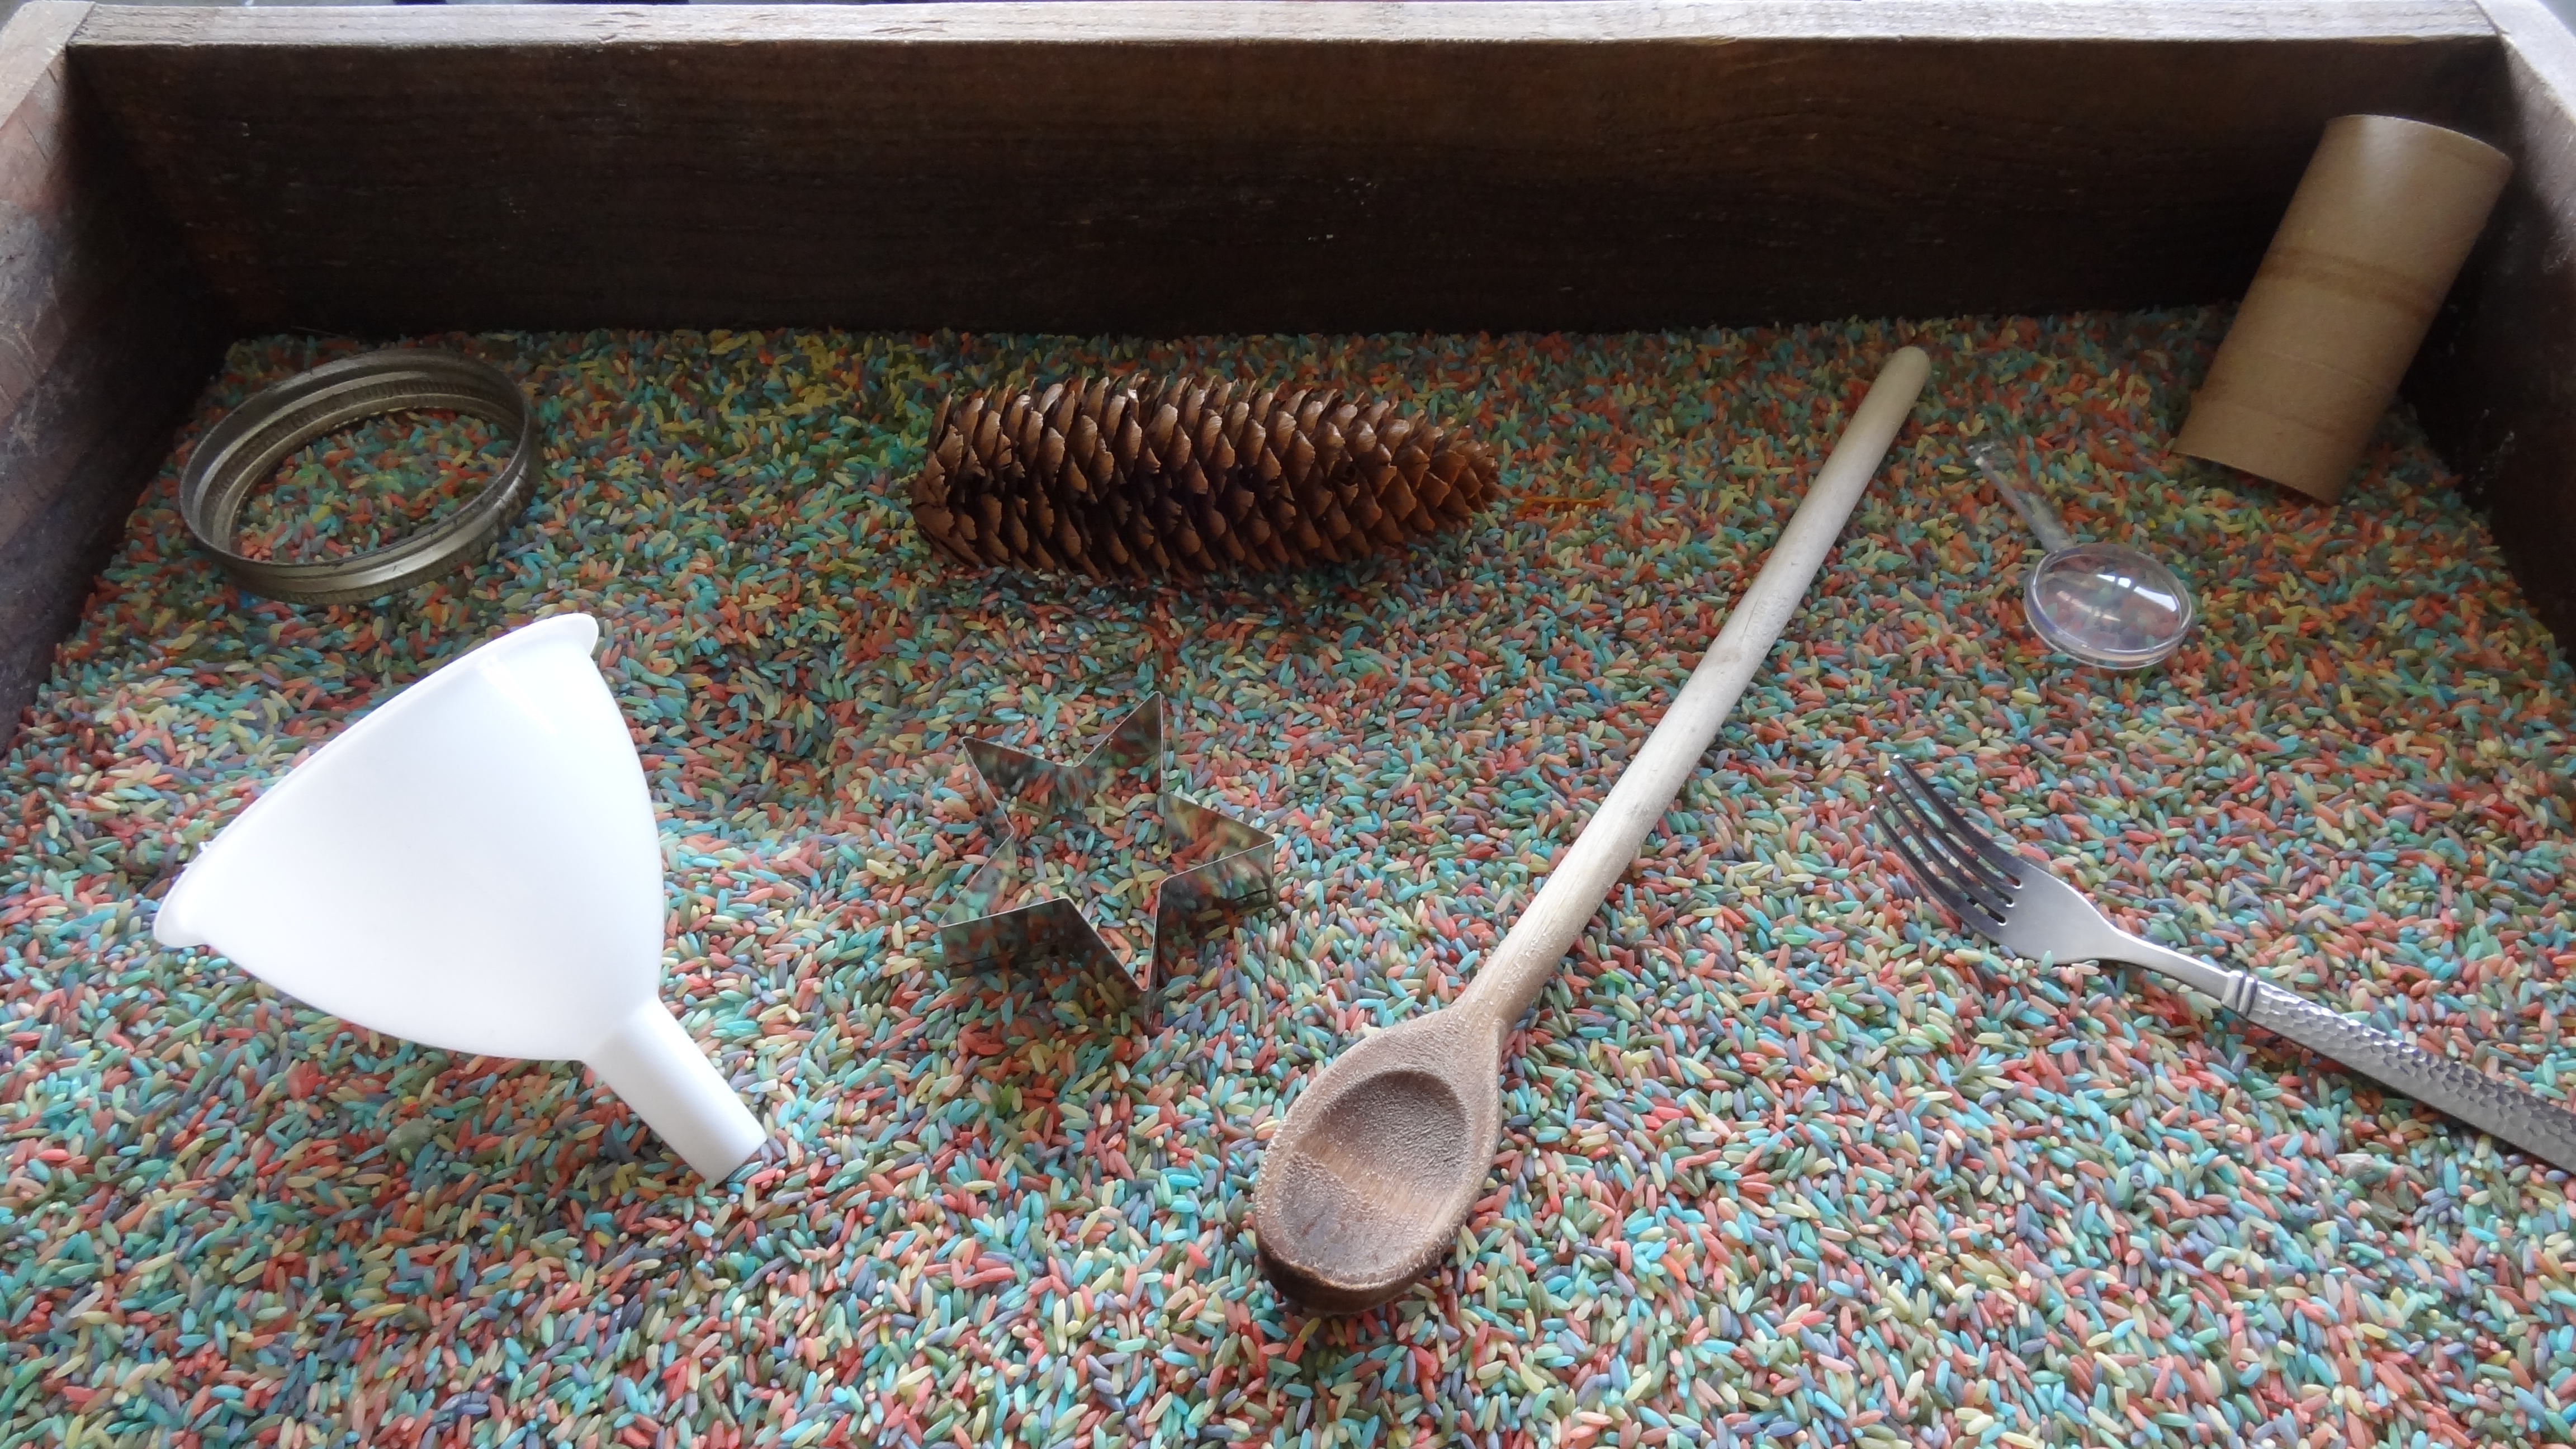
Now, play! Add the rice to a wooden or plastic bin will the toys that your kids love! Include spoons, cups, funnels, ladles, and plastic dishes for hours of rice fun!
